Date: March 22, 2026
I have always been an artist. Digital drawing has dominated my life for as long as I can remember. One of my fondest childhood memories, as I’m sure many of you can relate to, is tracing crude versions of my favorite characters on a free drawing app with my finger. My drawings have always naturally gravitated towards character focused fashion and the female silhouette, which is something I was embarrassed of for a long time. As cute as my drawings were, that’s all they were. Just drawings.
I will always love digital art, but I felt like something was missing. That’s why I’ve always wanted to design clothes, so my drawings could have a place in the real world. I think my history with drawing will give me a real advantage regarding color, silhouette, and shape language in fashion. When it came to sewing, it just seemed like there were so many things I didn’t know. But there’s no time like the present, and the only way to learn is to start. So, here I am.
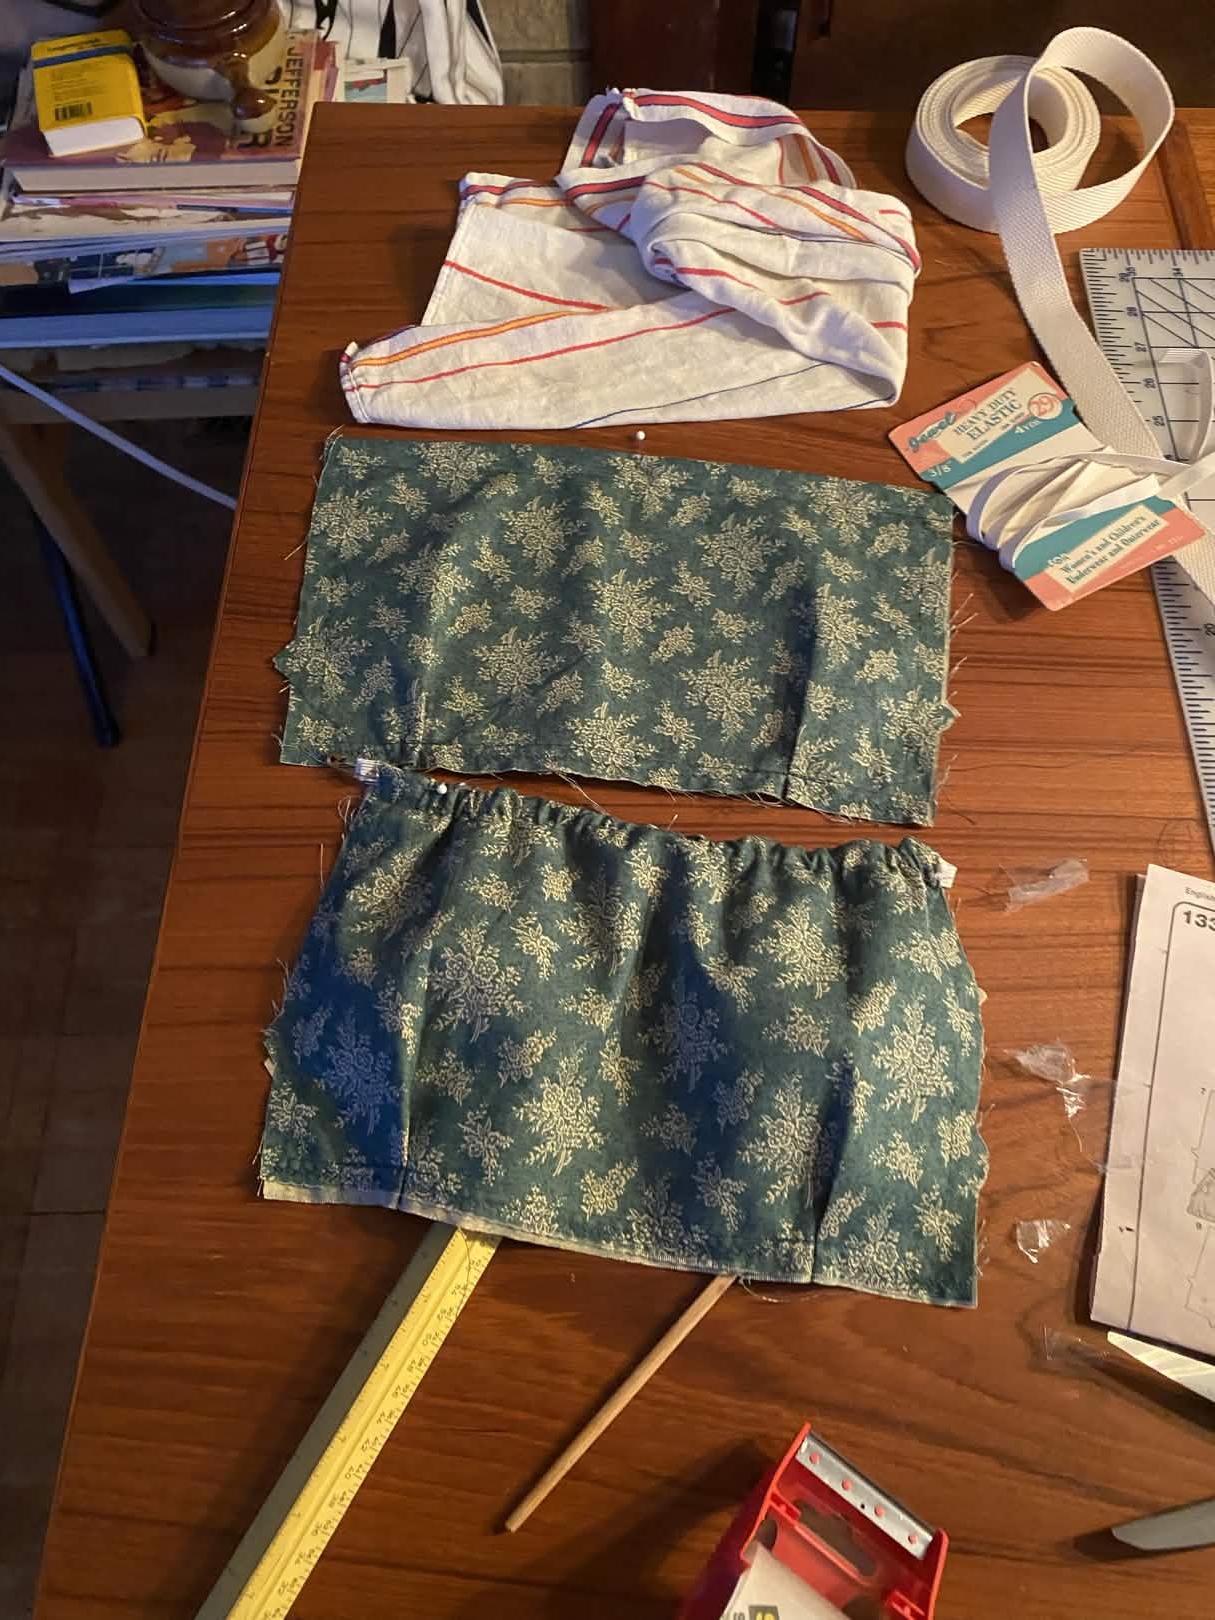
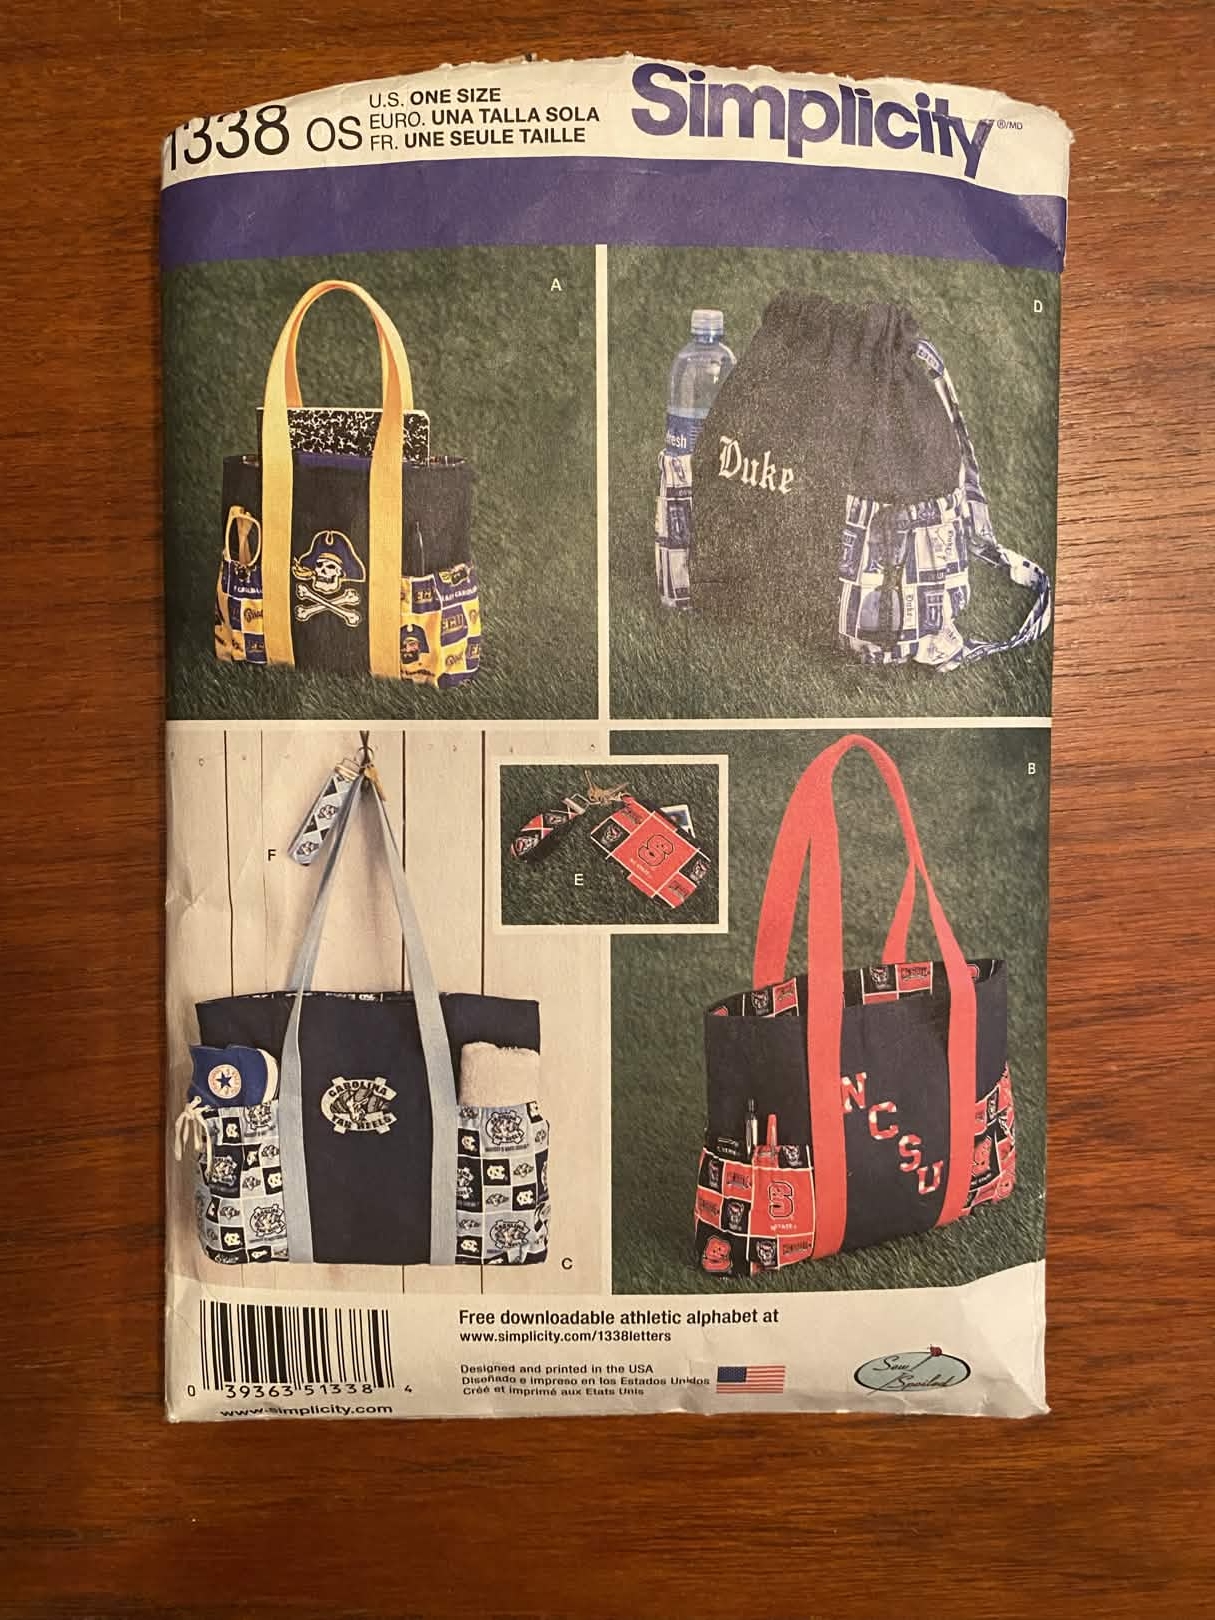
The pattern I chose for my first sewing project is a tote bag. I chose this pattern because it included many different elements that I would need to learn for clothing while being relatively simple. I could also focus on learning techniques without worrying about sizing or fit. The project includes interfacing, pleats, elastic, and attaching a magnetic button closure. I was super excited to tackle all of these things head on.
Understanding the directions that came with this pattern was actually one of the toughest aspects of the project. The first time a piece of fabric is mentioned it is usually referred to by a letter. Then, as you move on, the name for it will change depending on what part of the bag it is supposed to be. It confused me at first, along with how many terms were used in the instructions that I didn't know, such as basting. Basting just refers to doing a looser stitch that typically won’t be visible in the end product. I had to turn up the stitch length dial to 4 for this, when usually it is at 2 for most other stitches. I had to look up a lot of terms online just to understand what was being said.
I’m not afraid to admit that I was terrified of the sewing machine at first. The way it jolts and buzzes at the slightest push on the foot pedal was startling. Thankfully, how hard you press on the floor pedal determines how fast the machine goes, so you can go as slowly as you’d like. I was happy to hear that the speed of the needle did not affect the stitch length, so I had plenty of control over the fabric’s positioning.
I had quite a bit of trouble remembering to lower the presser foot onto the fabric before starting my stitch. It happened so often that even when I did remember to do it, I had a lingering feeling that I forgot something. I would sit there for like 30 seconds trying to tick off all the boxes in my head before I could start. Was I holding the thread? Was the needle in the exact right position? Had I lowered the foot? I hope this gets better with practice.
Something that surprised me is that sewing machines don’t actually use a single thread! They use two. One comes up from under the needle from a bobbin (a small spool of thread you need to wrap yourself before starting a project), and the other comes down from the top of the machine and runs straight through the needle’s eye. Under the fabric, the bobbin thread loops around the other, securing it into place. I made sure to choose a thread color that was as close to the green base fabric as possible, to camouflage my inevitable mistakes.
To hold the elastic, I had to sew a tube in the top of the pocket pieces. I taped the elastic to a chopstick and used it to push all the way through to the other side. I’ve worn enough drawstring hoodies in my life to know what’s up.
The tiny pleats were very challenging. It was tough to hold such a small fold in place while the needle goes over it. It was too small to pin effectively, and you have to hold the thread from the needle for the first few stitches so it is difficult to hold both at once. However, it was actually one of the most rewarding parts! The little pleats looked so good and gave the pocket interest and shape. It also encouraged me, because I love pleats and I am very likely to use them in the clothing pieces I want to make moving forward!
The type of interfacing I used is called fusible interfacing. It is a type of slightly stiff fabric with glue on one side. It is used to create structure and firmness in the cloth. For this pattern, I had to cut the interfacing slightly smaller than the fabric that would encase it to prevent glue seepage. Then, I had to pin it to the fabric and iron it on with a wet towel covering it. It surprised me that instead of ironing like normal in sweeping motions, the instructions said to let the iron sit in one spot for 10 seconds. Each brand of interfacing will have different instructions.
As of the end of today, I am about halfway through this project. I already feel like I’ve learned so much! I am so excited to get back to work soon, but tomorrow I am visiting the Met in New York for design inspiration, so expect a post about that soon!